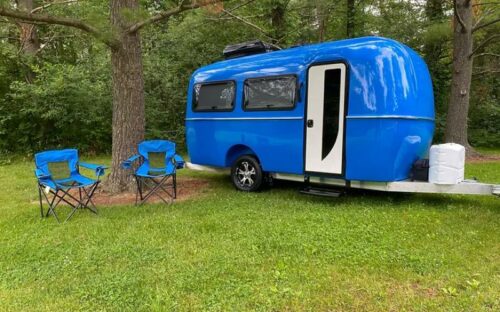
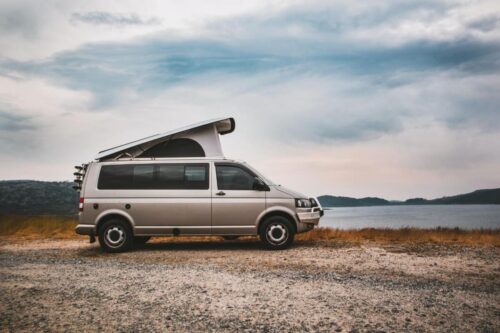
Thinking of converting an RV? Whether you’ve already bought an RV or bus, just watched some time-lapse build videos, or had a really good conversation about the possibility of breaking the rent cycle and are trying to figure out where to start, there are so many moving pieces!
Before you post on all your social media that you’re on a journey to the promised land of nomadic living, here’s a short reference guide for where to start when you’re starting out:
INTENT DRIVES DESIGN

The first thing to determine is what you’re actually going to be using the space for. If you’re renovating an RV or camper just to sleep in during the work week at an RV park, you’re going to have very different needs from someone driving from public land to national parks with 2 kids out west. Here are some good things to consider before buying a vehicle/trailer to convert and certainly before planning anything else:
- How many people/pets will using the space?
- Is this a full time or part time situation?
- Where is the line between minimal living and unpleasant survival in terms of appliances and space?
Beyond these very basic questions, if you will be living full time you have to consider what your specific needs for work will be. Using your laptop or a desktop computer for 7-8 hours a day while boondocking will require some serious solar power and internet. It also means that in order to be productive you’ll likely need legitimate desk space and consistent AC/heat.
Past the lifestyle necessities, put some thought into what you’re willing to do on the day to day basis. Do you need a roomy shower? Or can you give up the shower and obtain a gym membership if you really need one? Are a washer and dryer a necessity? Or are you game to hand wash and line dry your clothing on the road?
Spend some time paying attention to the appliances that you actually use and how frequently, to determine what you have to have, what you need and energy wise how much use it would receive.
LAYING OUT A FLOORPLAN
Once you’ve wrestled with what your realistic ideals are for a home on the road, you will have answered the tough questions (do I/we need a working toilet, shower, oven,wood stove) and likely jumped way ahead to the easy questions (what color should the accent pillows be, wouldn’t a co-pilot seat be fun, what if we used astro-turf on the stairs). The best thing to do is slow down and map out what the bones of the build are going to look like.
If you’re real artistic or hard-headed you can whip out the sketchbook and architectural ruler and start mapping out your plans. My partner and I opted to plan our build on Sketchup using some of the templates that very talented and organized people have already posted on the 3D Warehouse.
If you’re working with an RV or trailer that you’re not entirely gutting, take a serious inventory of what is functional, workable and safe and what you will need to replace. Similarly, don’t get so fired up about all the whistles and bells that you want on your build that you forget this is a working vehicle that can’t have an AC condenser so close to the tires that mud covers it when you drive. Or all heavy appliances on one side that will cause uneven wear and tear on the tires.
Living in 250-350 sq feet of space is a strategic adventure, and knowing yourself and your plans is the best way to maximize it. If you’re going to be hanging out in pretty temperate areas, no need to spend the money and space on an enormous wood stove. Parking on a friend’s land for years at a time might mean you need a compostable toilet and not a black tank with nowhere to dump it. Thinking through these details before you start the floor plan will make it more like a game of Tetris, deciding where to put the necessary pieces, and less like frantically cramming in everything you think of as you go.
CALCULATING A BUDGET

Step back and take inventory of the time and money that you will need to budget in order to take on the project.
There are three major keys to an affordable RV conversion:
Use every available resource
If you need an angle grinder for removing bolts during the gutting process and won’t need it again in your entire life, call around and see who has tools you can borrow before spending the money.
Know your limits
Even the most handy people in the world might totally destroy a diesel engine playing mechanic, or be absolutely unequipped to add spray foam insulation. Know what you can learn and do realistically and budget for the money it will cost to hire out what you can’t.
Use what you have!
This goes for scrap materials you have around the house like pallet wood, hardware from other home projects and less than perfect but workable tools, but also for what you remove from the vehicle. Keeping scrap metal that you cut out and all the hardware from gutting it will save money and trips to the hardware store.
The best thing to do in my experience and the standard advice on many RV renovation blogs is to keep a running Google Sheets or Microsoft Excel Spreadsheet with all of the presumed expenses. Initially, prioritize the bare minimum: tools you can’t borrow, mechanic work that you’ll have to outsource, the appliances that will make your space at the minimum livable.
If you’re adding solar to your bus/van/trailer/RV, budget for this often most expensive element last. After deciding what lights, appliances, and lifestyle you’re looking forward to in your vehicle, use a chart like this one to figure out how much power you will need on a regular basis. From there, you can more accurately budget for how much solar and battery power you will need, and how much it will cost for the necessary pieces.
Keep in mind also that finding materials at local architectural salvages will save you a ton rather than buying new, but will require time. If you’re looking forward to living full time on the road and have an impending lease renewal, don’t waste time trying to find the perfect brass bucket to use as a sink (ahem, speaking from personal experience) when you can’t finish the plumbing and move in until the kitchen is set up. Pick. Your. Battles.
RESEARCH FRANTICALLY
Research is your best friend on this journey. If you’re unfamiliar with electricity, Skywagon Schoolie is a great place to start. Read up on the pros and cons of AC units (Mini Splits, Rooftop units). Acquaint yourself with best practice carpentry when framing your build. Decide if you need RV hookups at your property or home and learn how the plumbing works at AskTheRVEngineer.com
Unless you want your new home to end up looking like Ken Kesey’s Furthur Bus (fantastically painted, no electricity or furniture), you’ve probably thought about what you’ve needed in it. Start putting the pieces together and ruling out what you can do without and you’ll be well on your way to starting your renovation. Take advantage of the freedom and choice you have in DIYing your RV and have fun with it! It’s okay to learn as you go and the best news about being in control of the build is that you can add and change elements in it whenever you want!

I’m a Richmond, Virginia native and transitioning digital nomad. You might find me bumping down I-85 North in the 2012 International Bus that my partner and I just bought to convert.