Jaws never really made me fear the water, but Robin Williams in the movie RV had me absolutely terrified of the RV black tank.
Since my family of 6 abandoned our stick n’ bricks home for the open road, we’ve become intimately familiar with our portable RV waste tank. We were weekend warriors in 2020, but we had never committed to the RV full-time lifestyle until we took the plunge just this year.
Most of our planned campsites only offered partial hookup with water and electric services. Our research tipped us off to the necessity of having a portable waste tank for boondocking if we planned on staying at these sites for longer than a weekend.
What Is an RV Portable Waste Tank?
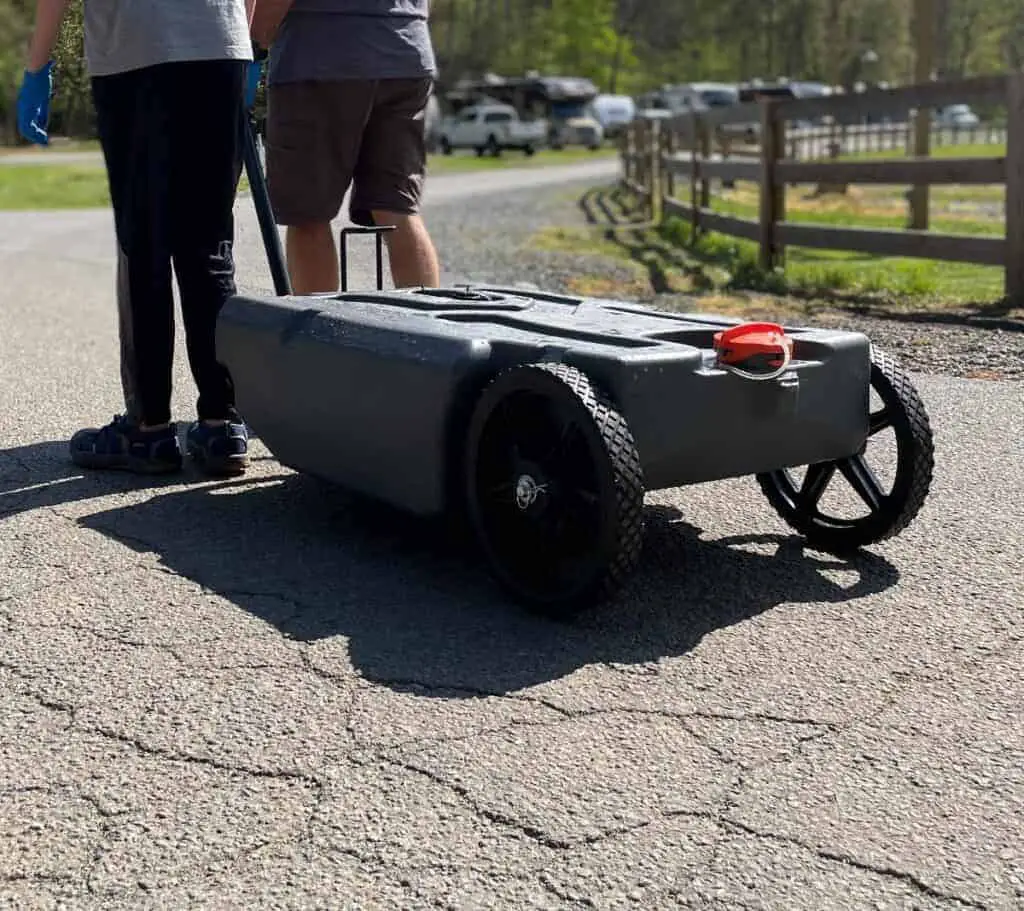
So we purchased a 28-gallon Camco portable holding tank. These heavy-duty portable plastic tanks – think of a hardshell suitcase on wheels – are commonly known as “blue boys” or “honey wagons.” (I’ll let you imagine what “honey” might mean.)
My 11-year-old son has named our portable waste tank “the Turd Tank.” I’ll never forget its inaugural mission. We loaded it up, so to speak, and prepared to tote the tank from our RV campsite to the dump station on the outskirts of the campground.
You might be wondering: Why would anyone subject themselves to such a task fraught with danger?
Well, if you’re like me and are surrounded by a family of six … your tank fills up faster than you’d care for. Our portable holding tank opens up more dry camping and extended stay opportunities. In fact, many rural and park campgrounds do not offer full hookups (FHU) with water, electricity, and site sewer.
(Plus, my wife and I find that our marriage is much healthier the less we backup our trailer.)
When To Dump Your RV Holding Tanks?
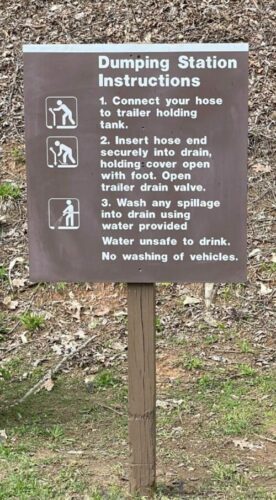
During our first trip out, I didn’t dump our regular holding tanks at all the first few days.
After that, I swear I was dumping them twice a day, every day. For the rest of the trip. What were we feeding those kids?!
Now, before I launch into the tote tank (hmm, should have phrased that differently), you should know a little about RV waste plumbing.
ABCs of RV Tank Sensor System
Normally, your interior control panel is your trusty tank interpreter. The control panel reads RV tank sensor probes that are located inside your black and gray tanks.
Unfortunately, these sensors can be unreliable, especially as they age and become fouled.
If you understand more about how these sensors work, you’ll understand how to diagnose inaccurate readings and clean out your tanks.
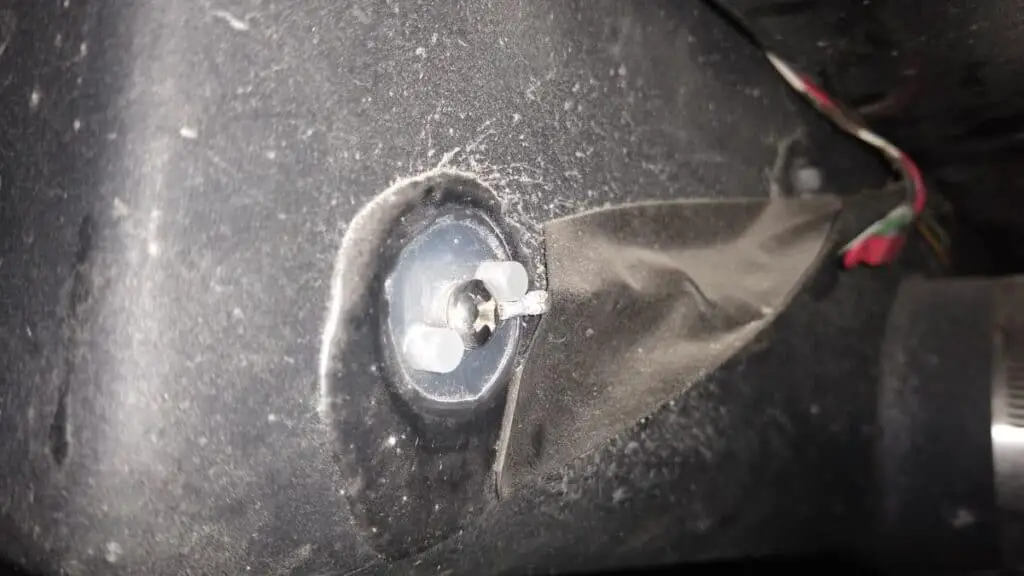
Believe me, you need working sensors! You don’t want a backed shower drain or a bubbling toilet. That’s gross. Clean sensors are critical for accurate sensor readings and to avoid the dreaded what-is-that-smell odor.
We keep experimenting with various methods to keep our tanks clean, such as the geo-method or Happy Campers tank treatment. Most importantly, we perform a black tank flush as often as possible.
Speaking of which, let’s get to the bottom of the issue – er, tank, if you will.
How to Dump an RV Portable Waste Tank
Part 1: Transferring Waste from RV to Tank
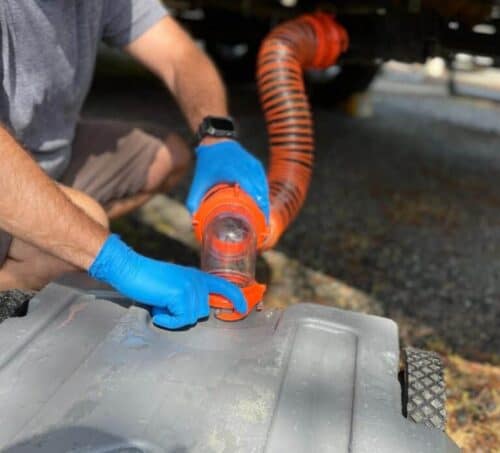
- Connect the sewer hose to the RV portable tank and the vehicle waste valve.
- Open the vent on the RV portable tank! All that air needs somewhere to go!
- Open the vehicle waste valve and drain the black water tank, but don’t fill up the tote tank yet! Save room for gray water to flush the sewer hose clean.
- Now, close the black tank waste valve, and slowly open the gray tank valve. Once the tote tank is full, close the gray tank valve.
- Disconnect hose and replace tank caps on RV and tank. Close vent caps.
Overall, this isn’t much different than dumping your onboard tank directly into a dump receptacle. The biggest difference is you are emptying into a tank with limited storage, so be careful how much – and how fast – you empty!
Part 2: Transferring Waste from Tank to Dump Station
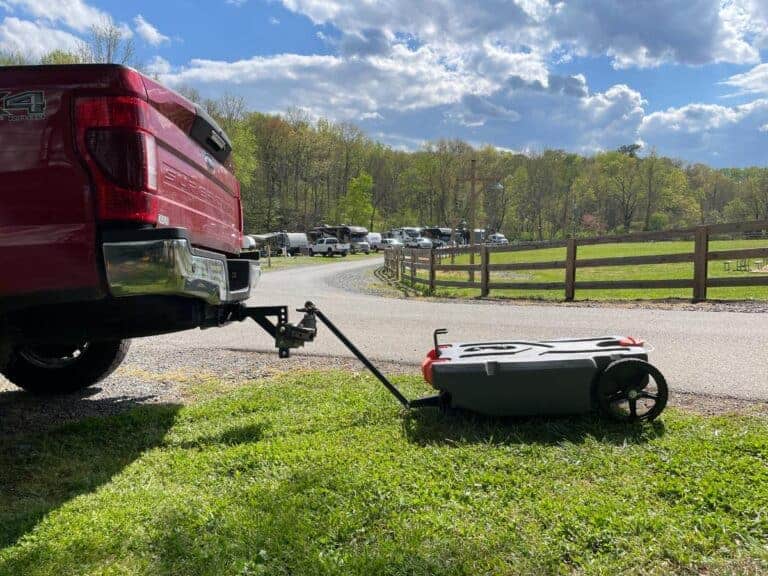
- Tow or pull the portable RV tank to the dump station.
- Position tank so gravity is in your favor.
- Connect RV tank hose to portable tank and dump station.
- Open vent caps.
- Open the tank drain valve and let ‘er rip!
- Flush tank using appropriate hose.
- Close all valves and vent caps.
- Take off your glove and wash your hands thoroughly.
- Have a beer! You earned it.
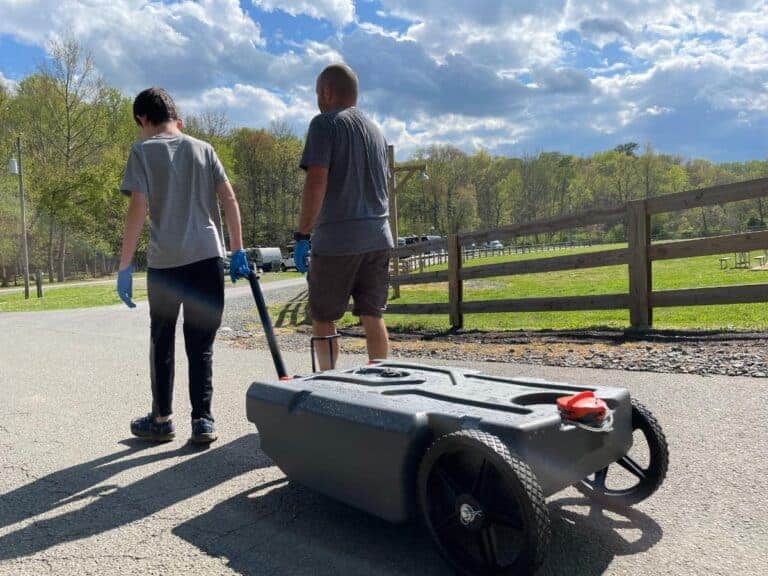
One rule I learned early on: Empty the black followed by gray in order to allow the gray water clean out any black tank remnants. Remember, when it comes to the black tank, water is your friend. Don’t let it get thirsty.
Also, having a clear elbow on your sewer hose helps you monitor how much room is left in the RV portable waste tank.
Where to Dump Your Portable RV Waste Tank?
There is really only one good answer to this question.
An approved dump station.
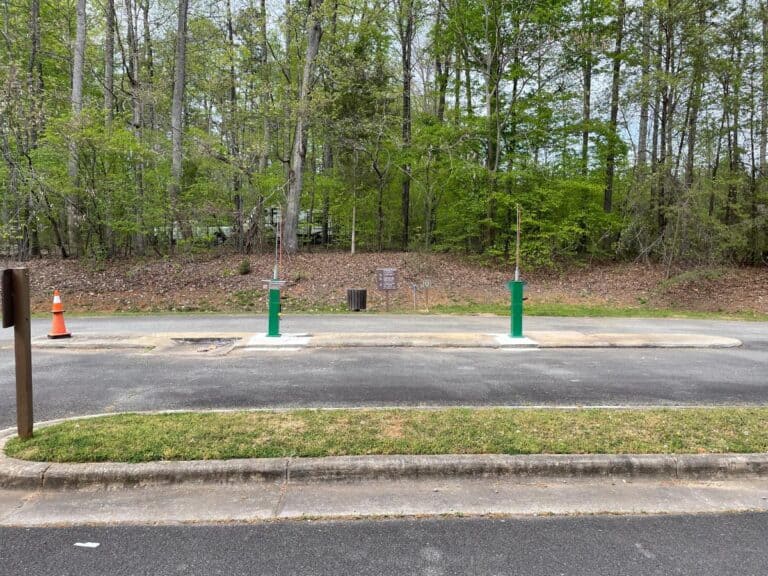
If you need help finding a dump station near you, check out this helpful locator.
And that goes for gray water, too. Don’t be that guy who turns the campsite into a swamp for the next camper.
Lessons Learned: 6 Do’s and Dont’s at the Dump
At this point, I consider myself an expert of sorts at the tote tank process. I’ve learned some lessons about usage, and I have some recommendations for other RVers. Take a look, and let me know what you think!
Don’t: Forget the Rubber Gasket!
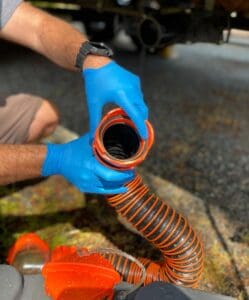
Make sure your connection hose has an O-ring or rubber gasket. If the connection doesn’t seat properly, this will cause problems (yes, I found this out the hard way).
Do: Open the Tank Vents!
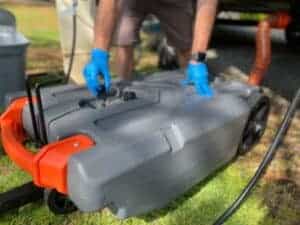
Make sure you have the rinse cap removed when dumping. Science says there is a relationship between venting and pressure buildup. I don’t know exactly what that relationship is, to be frank, but I know it’s bad news if you forget.
Don’t: Cover Your Turn Signal!
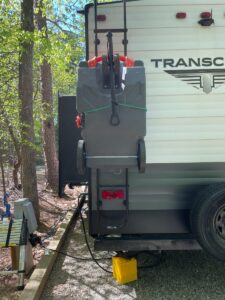
Don’t cover your turn signal! You see, we attach the Turd Tank to our exterior ladder when traveling. But the first time, I placed it too low, and it blocked the driver’s side turn signal. I’m only 5’4”, so I recruited my taller wife to help shift the tank a few rungs higher.
Don’t: Wear Your Sunday Best!
Wear old clothes, disposable gloves and a hazmat suit if available.
Don’t: Speed!
“Pop quiz, hotshot!”
How fast does Camco say you can tow their tote tank?
5 mph, folks. Bad things will happen if you go faster, says Camco.
Now, 5 mph might seem speedy on a treadmill, and it might sound like a reasonable speed while towing.
It’s not. Try it. It’s unbearably slooooooow. But the wheels aren’t attached by much, and if one falls off while you’re towing the tank then you’re in deep … well, you know.
Do: Fix the Wheels!
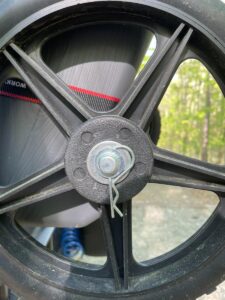
Turns out that other campers have had similar problems when speeding.
YouTuber JonesN2Travel learned the hard way and posted an excellent review and modification video to YouTube.
The modification fixes a design flaw in the main wheels. I saw several people towing their tote tanks to the dump station without issue, so I assume the people who had wheels fall off were like me and couldn’t bear to mosey along at 5 mph.
So I went ahead with the Camco RV tote tank modification. I drilled a hole in both axles, inserted hitch pins, and added axle hat nuts. Now it rolls like a Panzer.
5 Features of the Best RV Portable Waste Tanks
If you’re interested in purchasing an RV tote tank, here’s what me and Ross suggest are the 5 features you should consider.
1. Choose a Reliable Manufacturer
Camco, Thetford, Barker and Toten-Stor are all major manufacturers offering portable holding tanks. The Barkers and Thetfords are the classic blue color. When it comes to these tanks, you get what you pay for. Just imagine the chaos if one fails!
2. Heavy-Duty Construction
I choose the Camco brand due to my experience and trust with their other products, such as the Camco Heavy-Duty leveling blocks and the Camco Sidewinder RV sewer hose support. The Rhino tank has a UV-stabilized plastic body that won’t deteriorate in sunlight.
3. Expansive Storage Size
Camco offers four sizes of its heavy-duty Rhino tote tanks: 15, 21, 28, and 36-gallon. I chose the 28-gallon tank because it fit nicely on our RV sidewall ladder. Really, I’d recommend getting the largest one you can. Bigger tank = less trips!
4. Steerable Wheels
I chose the 28-gallon tank with the optional steerable wheel package, and it was the best decision of my life (don’t tell my wife I said that). With this attachment, you can drag the tank on three wheels, so it supports its own weight. Think of a three-wheeled grocery cart.
Without this attachment, you must hold up the front end of the tank and pull, like a moving dolly. But once filled, this tank is HEAVY, and stuff is sloshing everywhere inside, and that’s not a situation you want to be in. Remember, each gallon is about 8-10 lbs! My tank weighs about 250 lbs once full! It’s a chore just dragging it to my tow vehicle hitch.
5. One-Person Operation
I met a couple at the dump station (and was tempted to ask, “Do you come here often?”) with the smaller Camco 21-gallon model. Theirs did not have a side dump valve, just the main entry hole. They had to get under one end of the tank, squat, and lift, just to get the water flowing!
Basically, it looked like a 2-person powerlifting workout. I’m glad we chose the 28-gallon, as nobody in my family was interested in helping.
God Bless You, Robin Williams!
Thankfully, I avoided Robin Williams’ fate. The experience was nowhere as bad (or dirty) as I imagined. My favorite Merrells, recently downgraded to dump station shoes, remain clean and will log many more miles.
Since that first time, my oldest son has joined me on several dump station expeditions. My tote tank has provided some valuable one-on-one time. (Plus, we can make up crude poop jokes while Mom isn’t around.)
There’s a beautiful hiking trail close by our campsite. I’d hate to leave it so soon. And thanks to our trusty Turd Tank, I won’t have to. We get to hang out here longer, enjoy time as a family, and that’s what this whole camping thing is really all about.

Michael Huff
Full-time RVer, husband, father, son, brother, friend and dreamer. I am officially “living the dream:” traveling the country with my amazing wife, four awesome kids, and beloved boxer in our 150-sf RV. Each day we are learning, laughing, (maybe a little yelling) and finding the good in this world.


