When we bought our new Recreational Vehicle in 2015, we had our list of must-haves. We wanted a fireplace, the bigger 22.5-inch tires, and multiple living room slide-outs to accommodate our large dogs. We also wanted a bedroom that allowed us walk-around access to both sides of the bed. We noticed that the cabinets were either honey oak or a darker brown.
We decided to get an RV that met our must-haves. Once we found what we wanted, we discussed what changes we would make to personalize our ride and make it our own. We made several interior changes that brightened up the inside and added our personalized flair of an ocean theme.
We Kicked the Old Mattress to the Curb!
Change 1: RV mattresses are not the best quality. So, our very first change was a new mattress. We went through several mattresses until we found the one that worked for us. We ended up with a queen size sleep number mattress. We did not go with an RV queen. We went with the standard queen mattress. The mattress does hang over a few inches. We use a part of our futon from the living room to put under the bedroom mattress when we are sleeping so the mattress is not damaged. It also gives us a place to store that part of the futon when not using it.
RV mattresses are typically a few inches shorter than a regular house mattress. The RV queen is also called an RV short queen or just a short queen. RV-specific mattresses are usually much more expensive than traditional mattresses. So, with some ingenuity, we used a standard queen, which worked just fine.
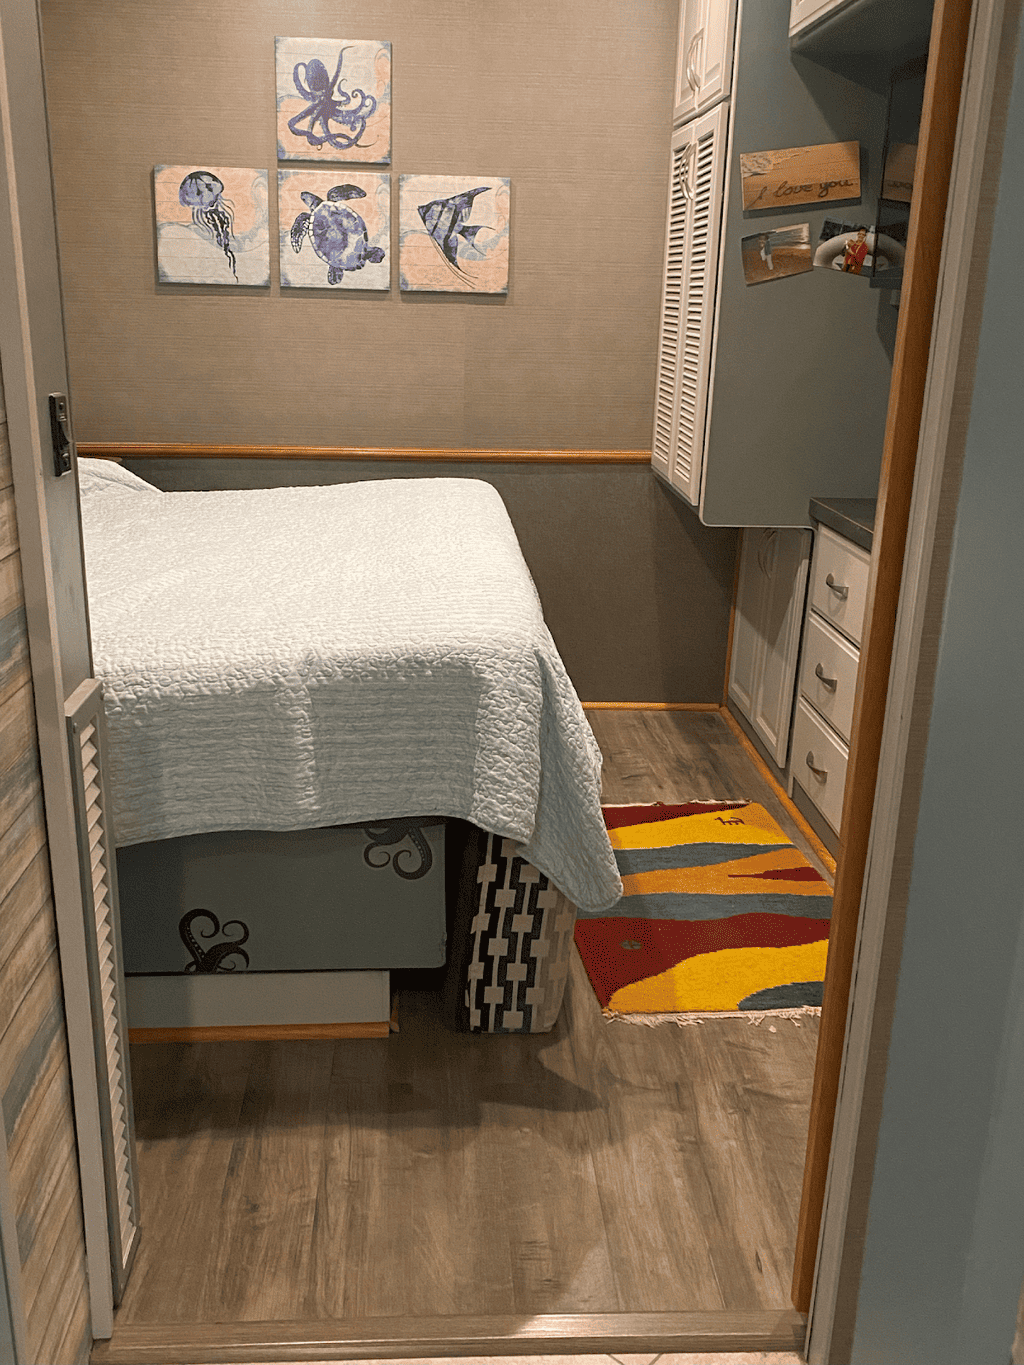
We Replaced the Carpet with Laminate Plank Flooring
Change 2: We are not fans of carpet. Especially with two larger dogs, we wanted easy clean up if there were any muddy paws. So, we removed the bedroom carpet. We found a lovely laminate flooring that had a wood floor look. We worked with a friend who was a carpenter, and he showed me how to change out the flooring. We purchased the flooring at our local Costco for less than $70. Our friend used his tools, so there was no investment there. I then went to a local hardware store and bought approximately 30 feet of ¼ round for our new molding.
For less than $100 all-in, we could update the flooring in our RV bedroom to something we enjoy. Ensure you know if your bedroom slide-out runs along a pedestal bed or floor. Ours happens to run along tracks in a pedestal, so I did not have to make any adjustments to allow the slide-out to run along the new flooring.
We Painted the RV Kitchen Cabinets
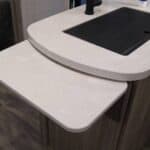
Change 3: After about a year of living in the RV full-time, we decided we had enough of the honey oak cabinet color. It was not our style. Since we both loved the ocean and were living in an RV park near the ocean, we decided to go with a beachy theme for our RV. We found cabinet paint kits on Amazon. We went with the Nuvo cabinet paint kits. The kits included two quarts of paint, two foam rollers, and a paintbrush. We already had a sander and the sandpaper, so our only cost was buying the kits.
We like contrast, so we went with two different colors. We initially were only going to paint the kitchen area. That worked out so well that we decided to do all the cabinets in the living room. We liked the finished product so much that we decided to do the rest of the cabinets in the bathroom and bedroom area. The colors we chose were Tidal Haze and Driftwood for the kitchen area and Olde Sage for the rest of the living room area.
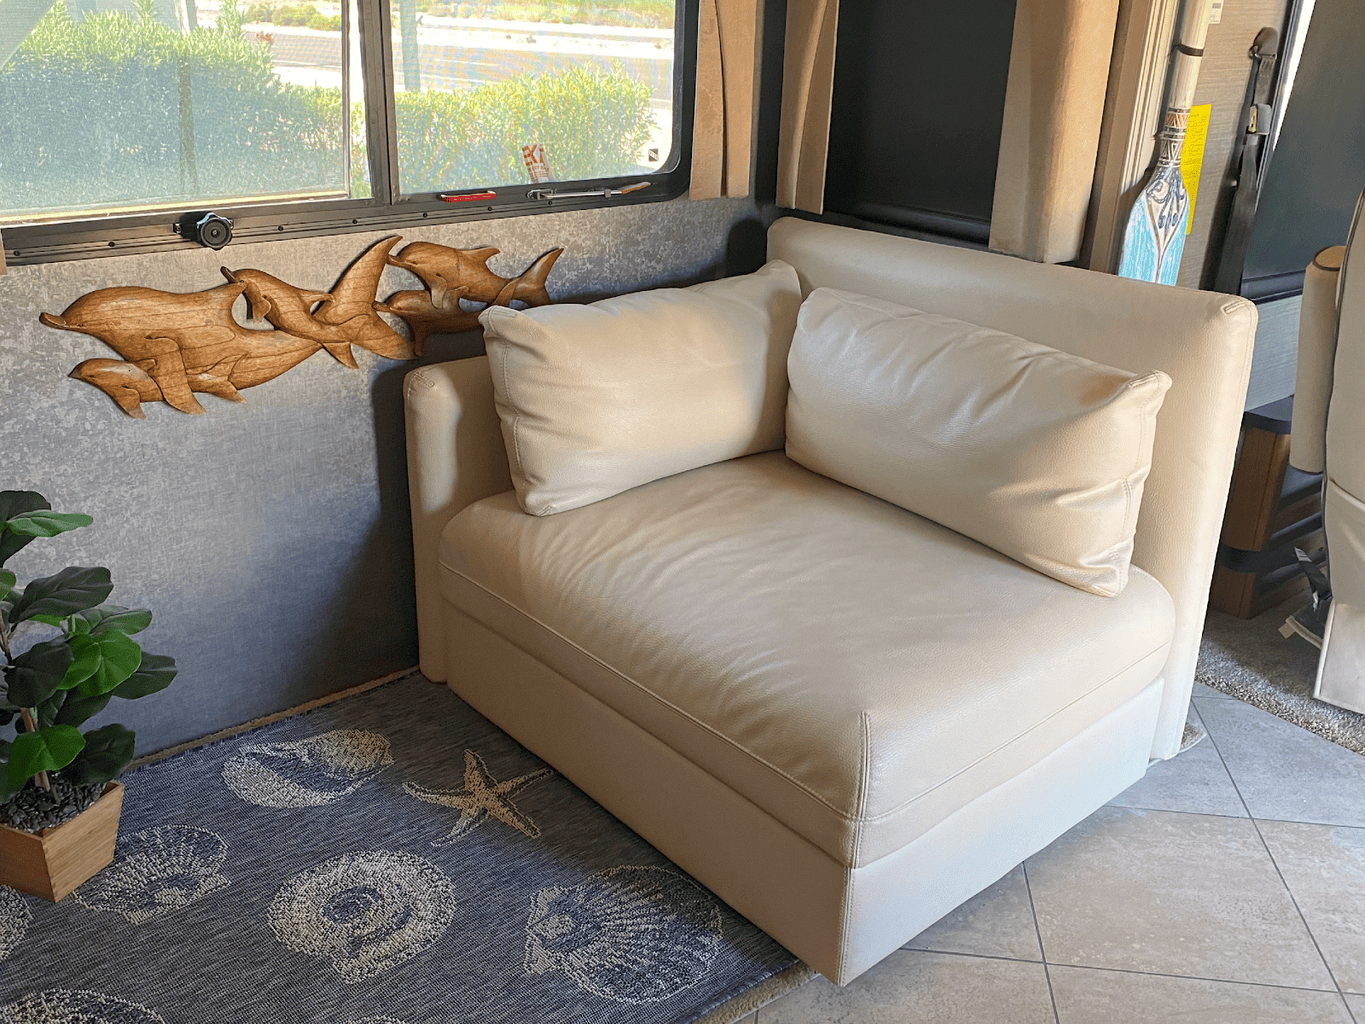
The other end of the living room shows some artwork and our loveseat.
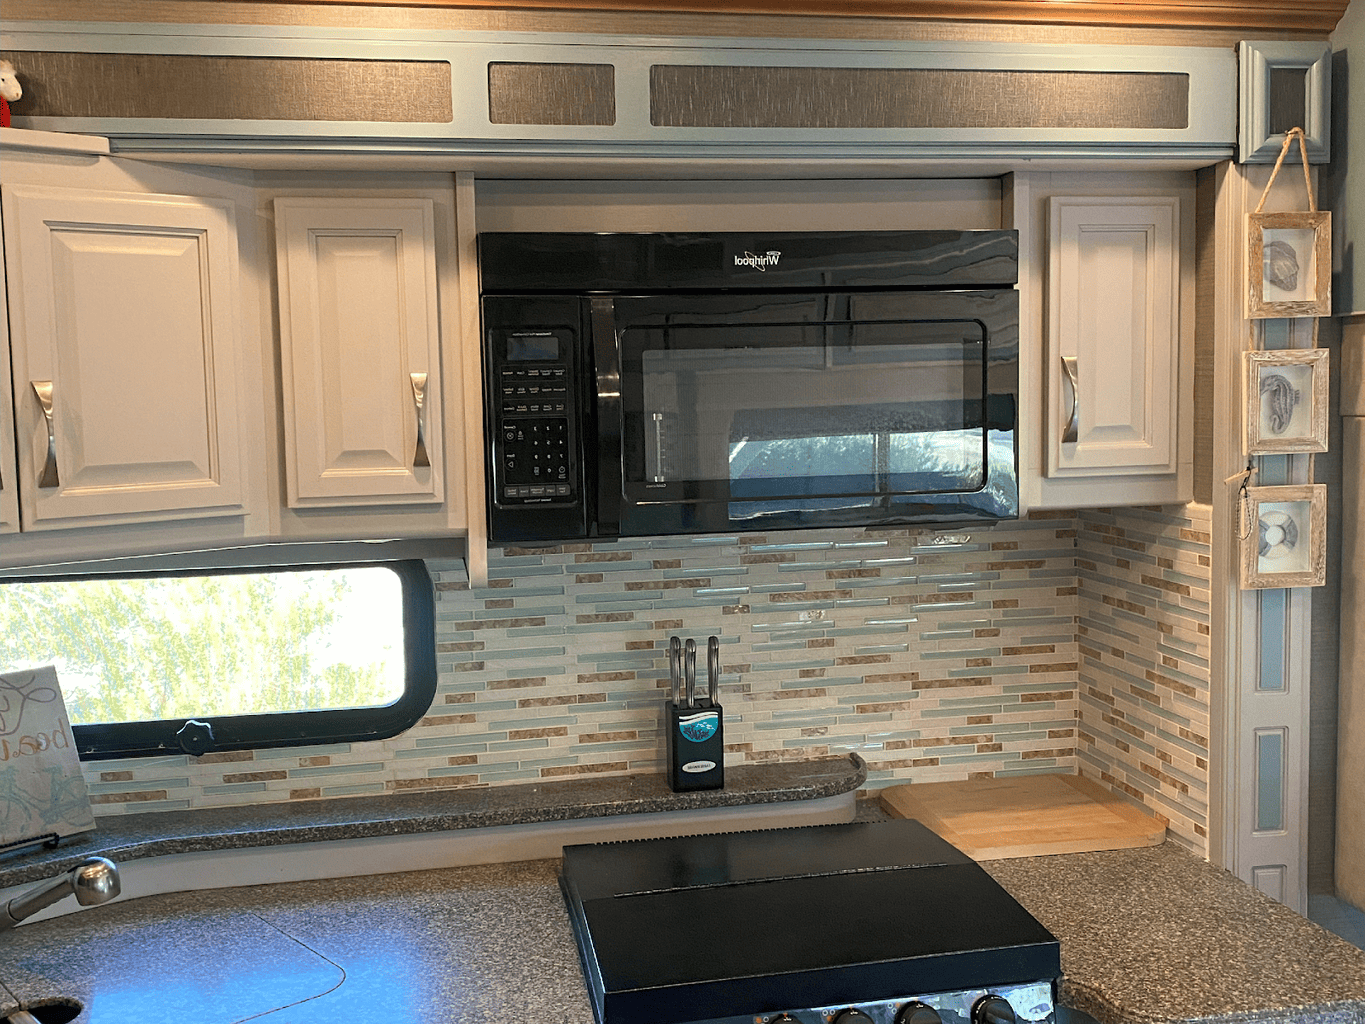
We Installed a Tile Backsplash in the RV Kitchen
Change 4: Our 4th change came about because a friend showed us a backsplash they were considering. It matched well with our ocean/water theme we already had in the RV. We decided a backsplash in the kitchen and the bathroom would brighten up the RV and make it easier to clean the kitchen splatter off the wall behind the stove area.
Let’s face it: if you cook enough, there will be splatter. The splatter can be challenging to clean off the wallpaper. Cleaning the backsplash was very easy. We worked with a friend who is a tile installer so we could learn how to install the backsplash that we liked properly.
We Removed the Dinette and Replaced It With a Loveseat
Change 5: Now that the interior of the RV had the cabinets and backsplash we liked, we decided to deal with the dinette. There are only two of us, so we decided to have a more open area. In a typical RV, the dinette can also drop down to make a twin-size bed. We did not have that many people in the RV, so we removed the dinette. We still needed a place to eat, so we bought a pop-up coffee table from Wayfair. We found a table that matched our theme.
In removing the dinette, I found that the dinette was held in place by some heavy-duty brackets. I left the brackets in place to reuse whatever we decided for a dinette replacement. We bought a loveseat at Ikea and installed that in place of the dinette. I used the heavy-duty brackets to hold the loveseat during travel.
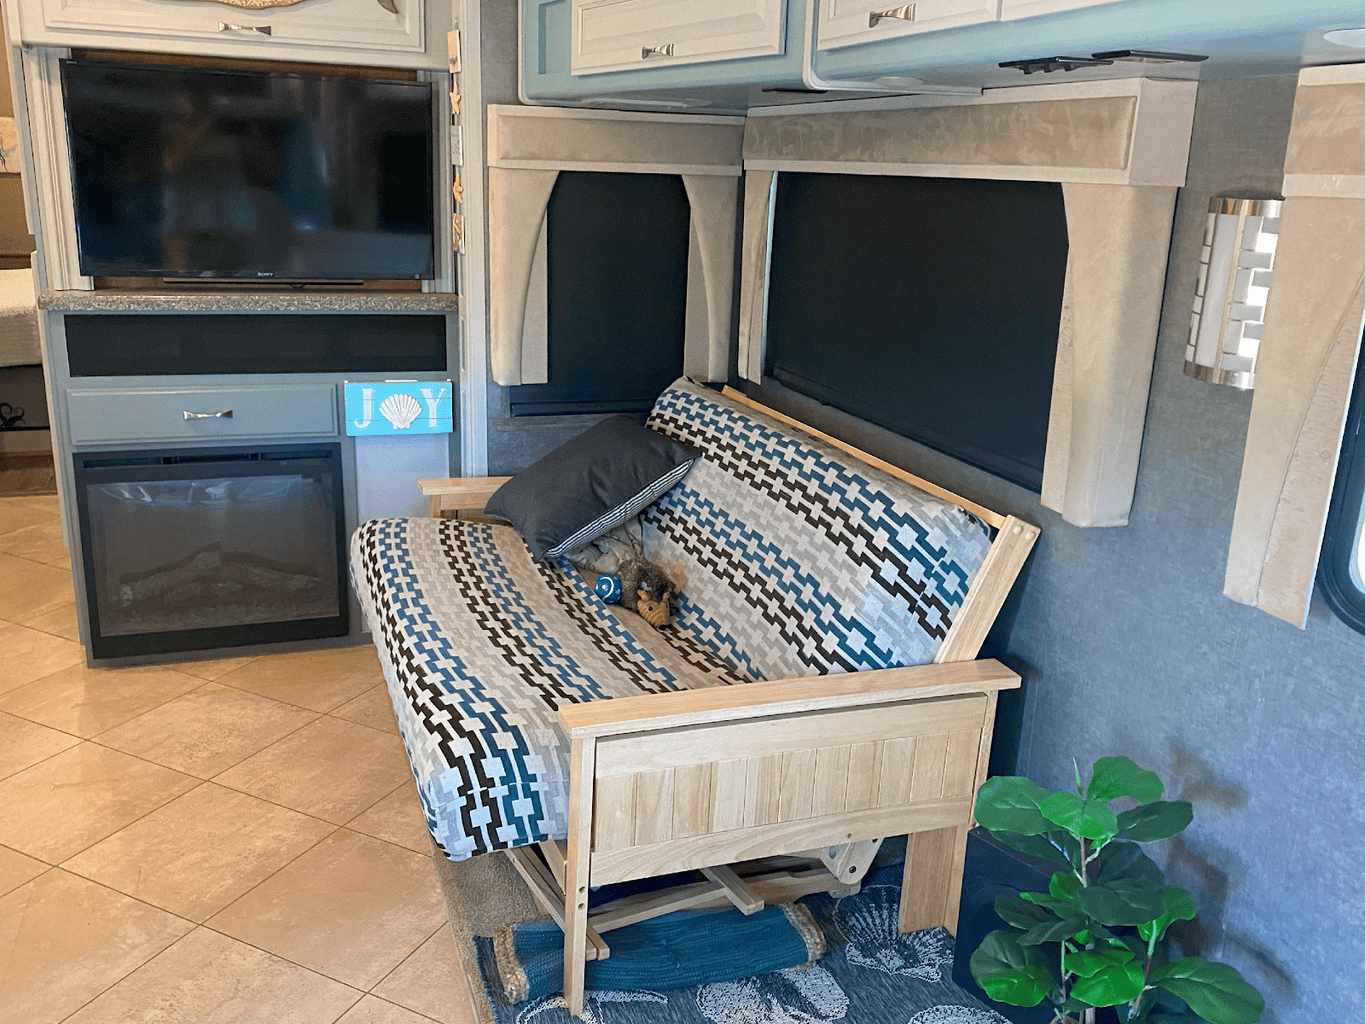
We Swapped Out the RV Couch for a Convertible Futon
The last significant change we made was to remove the standard RV couch and put in a futon couch that dropped down to a queen bed. We did that for one of our big dogs that was becoming more senior. With the futon couch, we could drop down the back on the couch and give the older dog a twin-size bed to rest on. We also like the look a lot more than the standard RV couch.
The futon couch also came with side tables that could be raised or lowered for when we were traveling. Overall, it was more functional for us than the standard RV couch.
I uninstalled the safety belts where the dinette and original couch were. I kept the safety belts in case we ever decided to sell the RV or change the furniture to something more traditional. There should be some thought about securing the new furniture when changing RV furniture to standard household furniture.
We do a lot of camping in the desert, so we go down bumpy dirt roads. We have never had any issues with the furniture or backsplash shifting or moving while en route. It is recommended that the furniture be secured so there is no movement en route. I used a steel bar, slightly modified, to hold the furniture in place. I used the bolts and existing bolt holes from the removed seat belts to secure the steel bar. I drilled holes in the steel bar for bolt holes. I tapped the holes, but that part is really not necessary.
>>> READ MORE: My Favorite 14 Mods and Accessories for the RV Lifestyle – Under $100!
The only other changes we made in our RV were some large vinyl letters and symbols to create the desired beach effect that we wanted. For any pictures that we hung, we used heavy-duty Command strips. If traveling on bumpy roads, you may want to consider taking the photo (s) down. With Command strips, removing the strips and reusing them without damaging the walls or wallpaper is easy.

I currently reside in the Tucson, AZ, area. Having two dogs, one is a Great Dane puppy, keeps us very entertained and busy. We love to camp and explore. We enjoy riding in the desert in our Razr and hiking in our local mountains. Our RV is the dogs' home they choose to share with us so we can take them places, and we love it!